
Yes! It's time for galaxy nails, my very first time! I received this Kiss galaxy nail art kit for review and for the life of me, I could NOT get this to work properly... Click to see my multiple attempts!
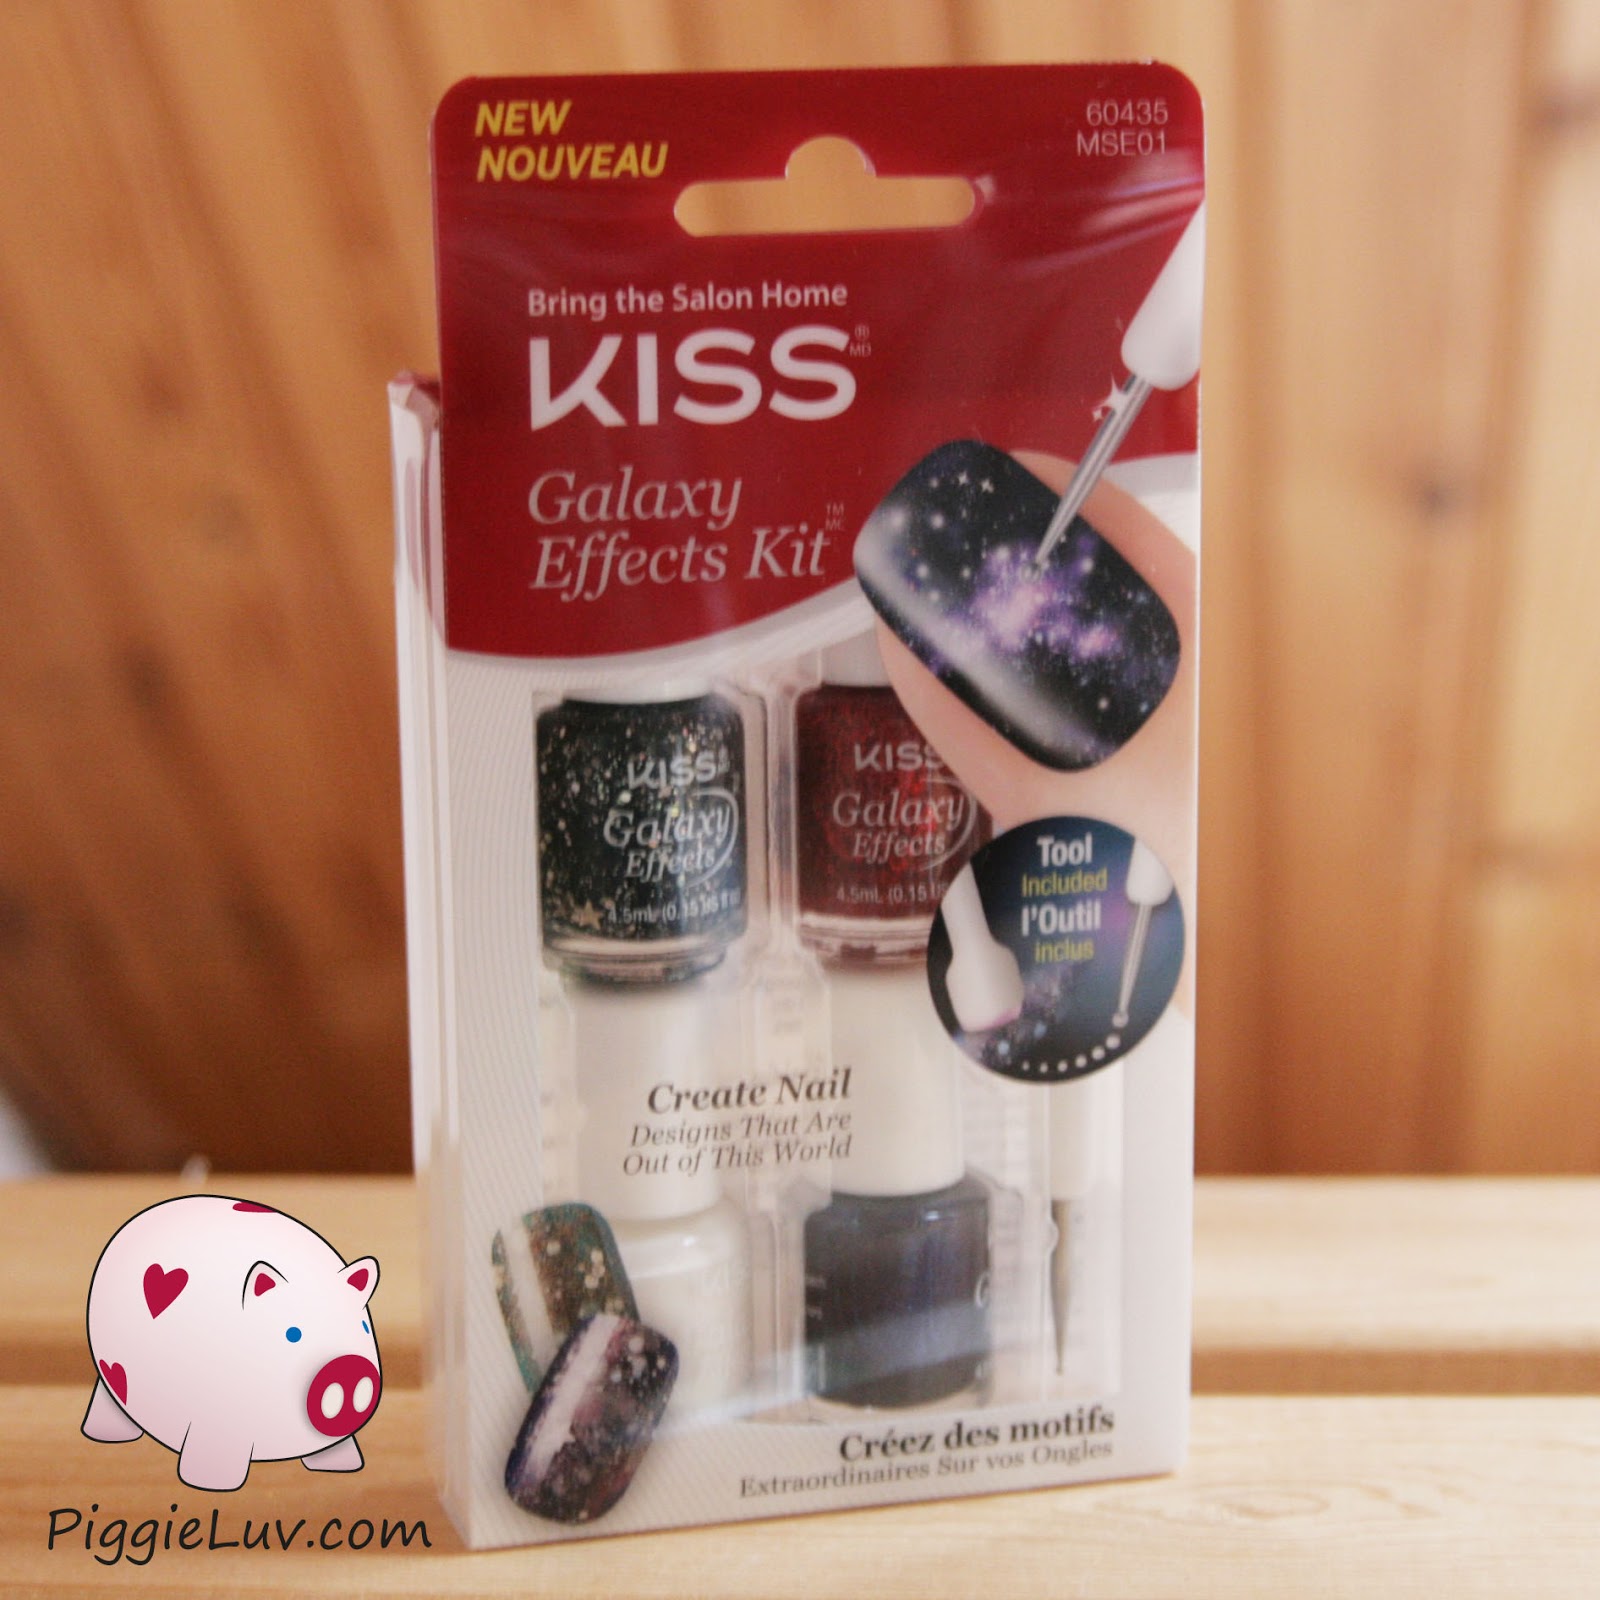
The kit comes with four mini polishes, and a tool that is a sponge on one side and a tiny dotting tool on the other side. None of the polishes are very opaque, but I guess that's how they're meant to be for this effect. The white is a pretty good white and I need to do some more testing, but I might have pretty dreams at night about this polish being full sized...

1. Start with a dark colored base; apply 2 coats of dark nail polish.
2. Apply 2nd & 3rd color polishes onto sponge; dab onto nail to create textured design.
3. Use the dotting tool to create dots; let dry.
4. Lastly, apply glitter top coat for your stars.
I couldn't make much sense out of these instructions, since this was my first time doing galaxy nails. A dark colored base, does that mean the dark blue polish that's included or my own bottle of black? I chose the black... From there, it became quite a mess!

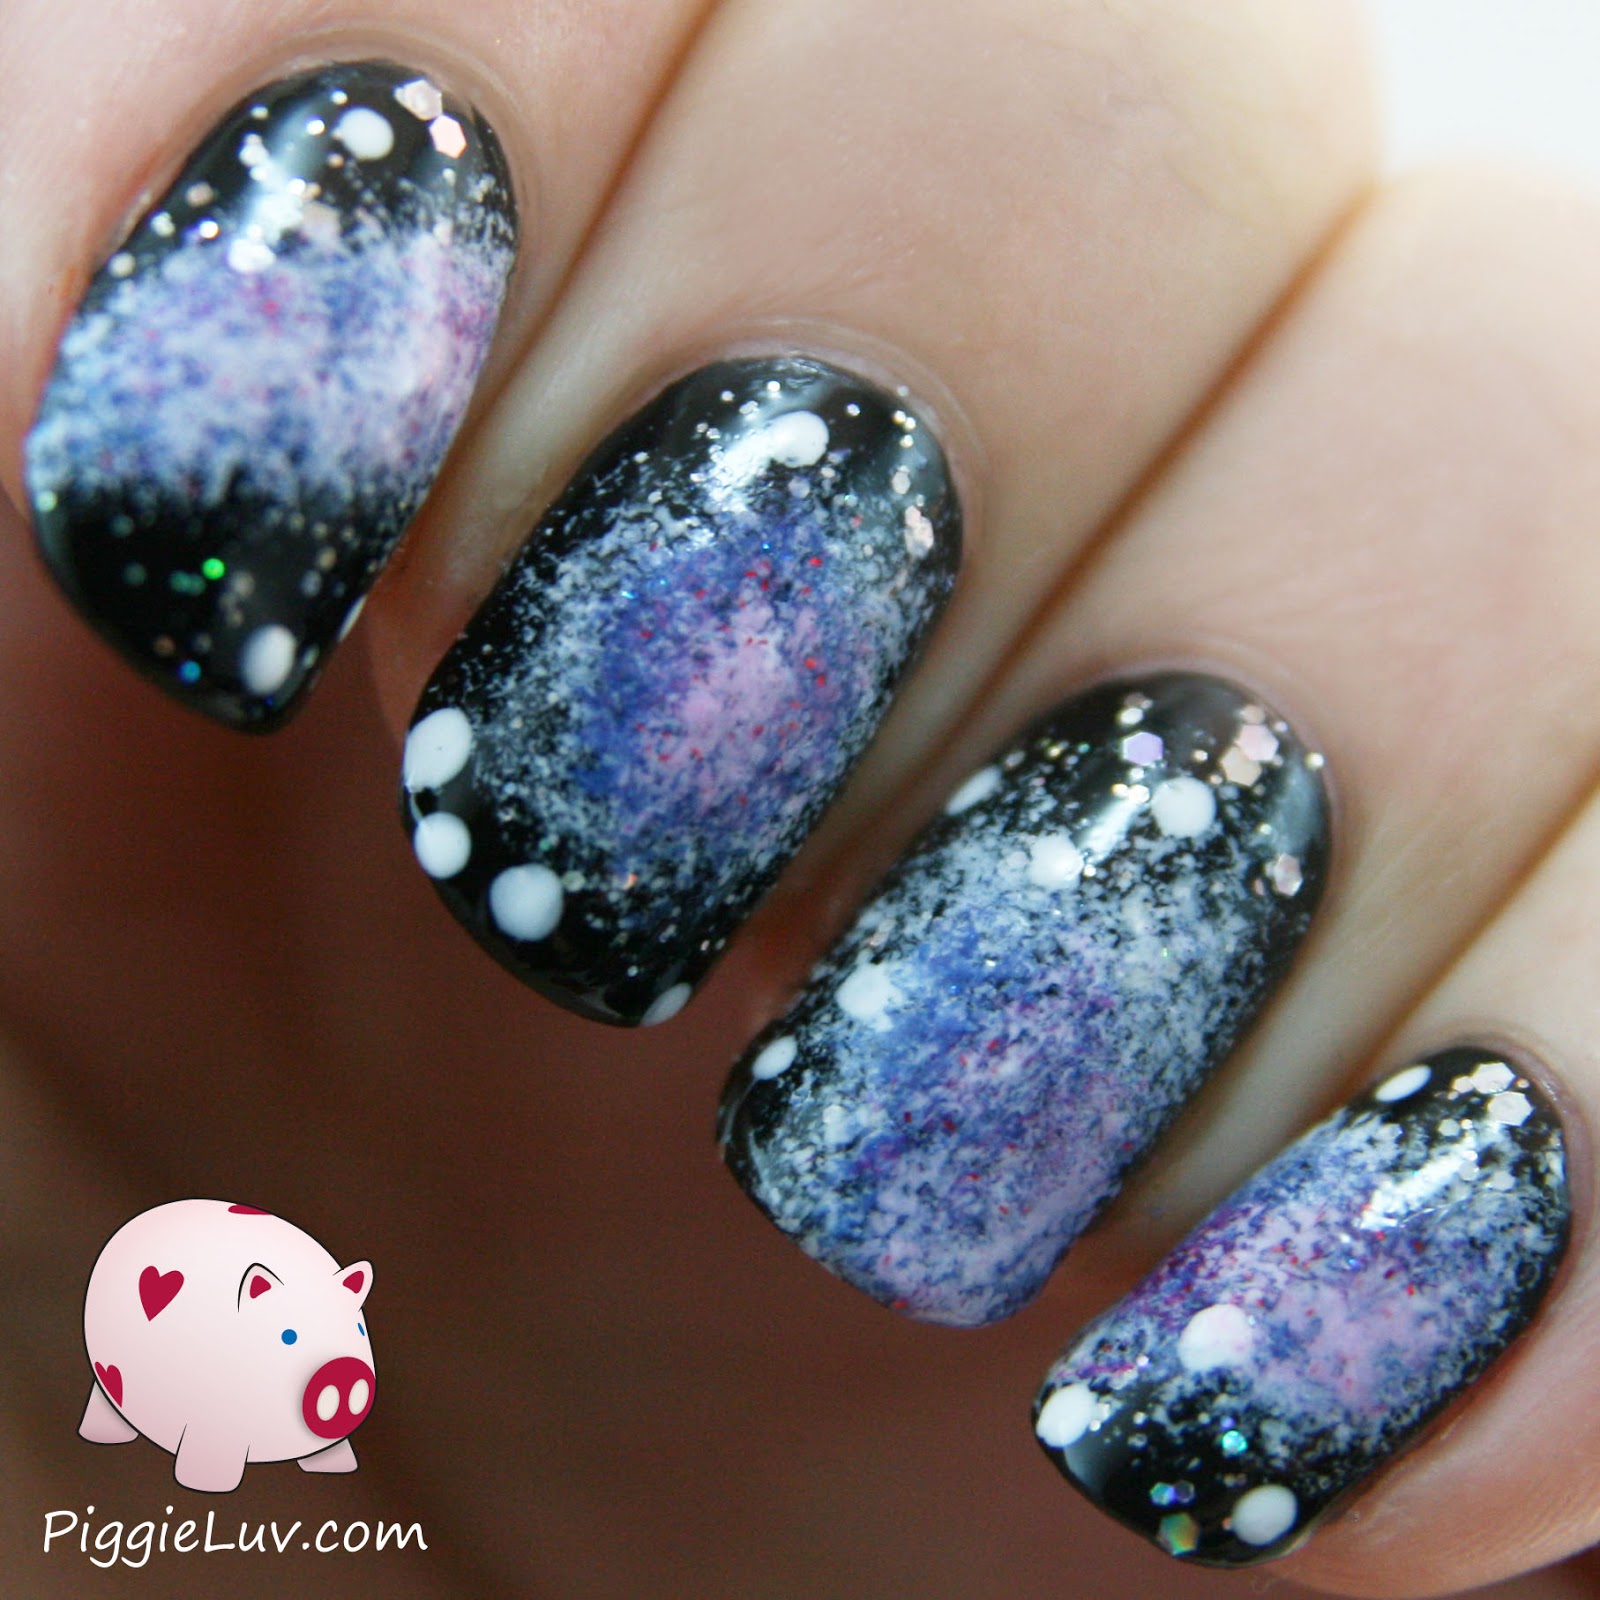
So with a wondering look on my face, I started by applying the red glitter polish with the sponge. I did red first because I don't like red so I was hoping that the rest of the process would disguise it for me. After that I sponged the dark blue on top of that and I added white dots lastly. It looks... interesting. Not so messy yet, just a bit too dark to be actual galaxy nails.


It bothers me that the images on these kits are so fake. Maybe, if the nails on the packaging were actual nails done with this kit, I would have had some idea of how to use the polishes. Now I was just completely lost and it took me three tries to get even remotely close.

I also looked up some other galaxy nail art pictures on the internet and they all use lighter colors. That's why I decided to start with the white polish this time! When you just dab the polish on after applying it to the sponge, the edges get too defined and it doesn't look like it's floating in space.
So what I do is, I take the sponge, apply a little bit of nail polish, and then dab it on something else a few times. This gets rid of the excess polish and when you sponge it on your nails, you get nice 'floaty' edges.

Does this look better to you? I think it still looks like a big old mess... but closer to galaxy nails than before, that's for sure!


The colors are wrong. Lighter colors would have made a better kit, like I proved with sponging on the white first.
I was able to use the sponge three times before there were no clean spots left. It's pretty good, but next time I want to use it, I would have to cut up a new piece of sponge.
The packaging is misleading (I HATE that!) and the instructions aren't very clear. I really hope this article can help when someone googles it!
The polishes by themselves are pretty cool, just like the dotting tool. It makes pretty dots and was easy to hold.
And that's it! Thanks for reading and be sure to check out my other reviews about the Kiss nail tattoos and the Kiss nail art pens!
I received the products in this article as a press sample for an honest review. Opinions expressed are 100% my own and not influenced in any way other than the quality of the product itself.
No comments:
Post a Comment
I love to hear from my readers (that's you), feel free to tell me anything you want. Please don't advertise your own blog or giveaway, use my link page for that.